
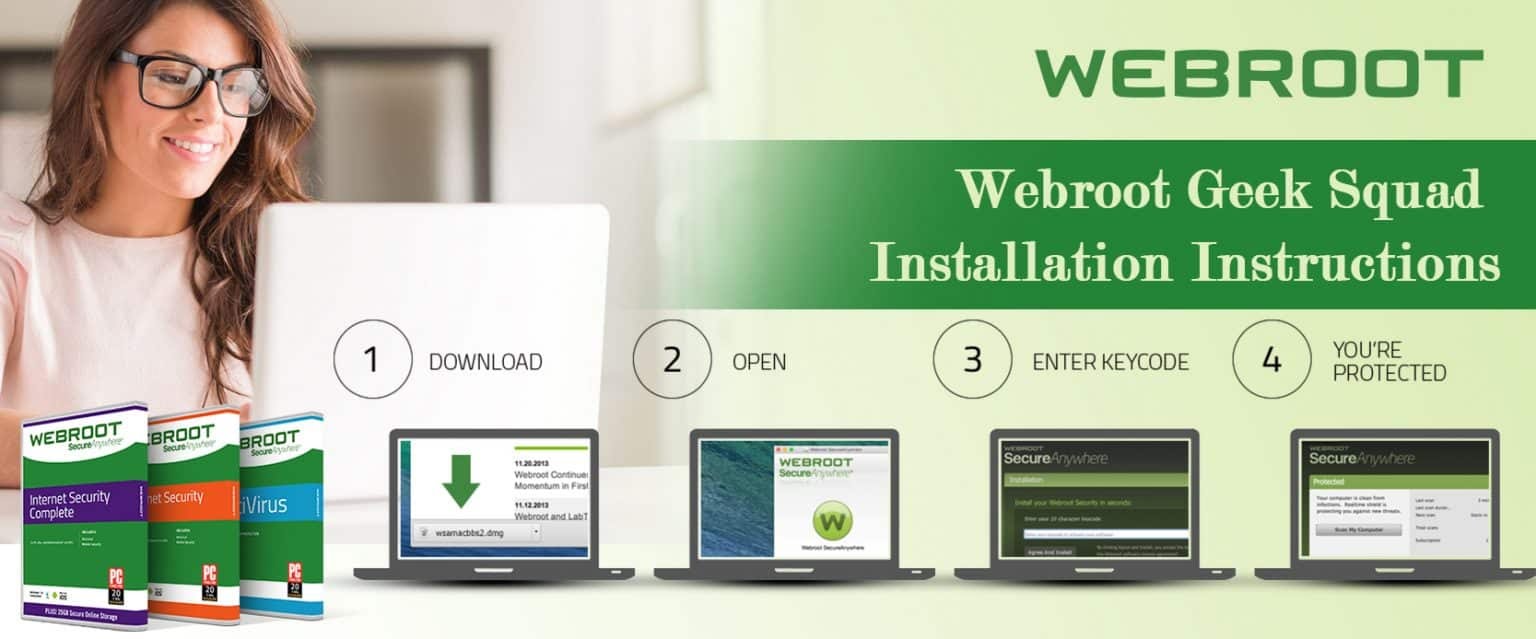
Webroot Geek Squad Installation Instructions
Webroot Geek Squad Installation Instructions
Legitimate Installation is of most extreme significance for encountering the unparalleled security cover offered by Webroot. On the off chance that you neglect to introduce the downloaded programming effectively. At that point, the product will experience issues while executing the capacities. In spite of the fact that, the cycle is basic and helpful. All things considered, a few clients experience trouble in appropriately executing this method. Webroot Geek Squad is one such stage that guides you with bit by bit directions for introducing the bought programming. At Webroot Geek Squad, you will discover all the necessary guidelines for aiding hasslefree Setup, Management and Operations.
Learn Proper Installation at Webroot Geek Squad
Webroot Geek Squad gives you point by point bit by bit guidelines for easily introducing the bought network safety programming. Prior to adhering to the given arrangement of directions, you should download the right form of Setup Software. For this, you should go to the authority site of Webroot. At that point, do Webroot login to your User Account. Presently, raise its Subscription area to discover the bought item. Other than that, a protected Webroot Download connect is accessible. Subsequently, click on it to start the downloading cycle. When the downloading is finished, continue to adhere to the guidelines gave at Webroot Geek Squad.
Establishment Instructions For Windows Device
- Ensure you have shut down all the open Applications, Programs and Browsers on your Computer.
- Start the Installation cycle via scanning your Computer for the downloaded Setup File. As such, you should check your System's default Download Location which is the "Downloads" Folder. In any case, on the off chance that you have set a substitute area during the downloading cycle. At that point, check it there.
- Presently, open the Webroot's Setup File by double tapping on it.
- This will raise a Security Prompt window. Snap "Run" to begin System Validation.
- Next, you should click "Yes" on the accompanying "Client Account Control" window.
- Therefore, its "Establishment Wizard" will turn up. It prompts you to give your one of a kind "Item Activation Keycode". Consequently, effectively type in the 20-digit alphanumeric keycode got in your "Buy Confirmation Email".
- Alongside that, it permits you to change its Settings. For this, it gives a tab that says "Establishment Options". Accordingly, essentially click on it to get its Settings window. Here, you can undoubtedly make changes for its Install Location, Create a work area alternate route, Change Language, and Proxy Settings. Webroot Geek Squad recommends you to leave it to its default settings except if you are a high level client.
- Whenever you have rolled out the necessary improvements, click on the Back Arrow to return back to the Installer.
- At long last, click on the "Concur and Install" button.
- From that point, precisely enter your enrolled Email Address. At that point, click "Proceed".
- Subsequently, the Installation cycle will start.
- Presently, trust that the cycle will complete effectively as it will require some investment.
- From that point forward, the product will run a programmed "Framework Scan". Following that, it will give you the Scan Results. In the event that if any security danger is identified, adhere to the offered guidelines to fix it.
- Finally, close the Installer by tapping on "X".
- At that point, restart your PC.
Establishment Instructions For Mac
- Find the downloaded Setup File on your System.
- Open the Webroot Folder by double tapping on it.
- Quest for the Webroot symbol. Presently, simplified this symbol to the Application Folder of your Mac device.
- Go to your System's "Applications" Folder. Open the Setup File by tapping on the Webroot symbol.
- This will raise the "Establishment Wizard" on your screen. Pick your favored "Language" by making a choice from the choices given in the individual drop-down box.
- Snap "Next" to continue further.
- From that point, effectively give your 20-digit "Item Activation Keycode".
- At last, click on "Concur and Install".
- When provoked, enter the "Macintosh Administrator User ID and Password" appropriately.
- At that point, select "Introduce Software".
- With this, the Installation cycle will start. Consequently, stand by while the cycle finishes.
- Finally, restart your PC.
Establishment Instructions For Mobile Device
- Dispatch Google Play Store or Apple Store on your Android or iOS device.
- Quest for "Webroot" on your Application Store.
- At the point when you get a rundown of accessible alternatives in the Search Result, select the bought item.
- Open the chose item by tapping on it.
- Tap on the "Introduce" catch to start the cycle.
- When incited for access consent, select "Permit".
- Presently, hang tight for the Installation cycle to complete appropriately.
- At the point when the Installation cycle completes, tap on "Open" to dispatch the product.
- This leads you to the programming projects' "Permit Agreement" window. Along these lines, mindfully survey the terms given on this window. From that point, tap on "Acknowledge" for finishing the Installation cycle.
- At last, restart your cell phone.